
Proxima Nova is a font currently being used for by our creative team for Decks/Presentations. It should come preinstalled when you download Office to your computer but if it is missing here is a quick guide on how to get it installed.
- You will first need to download the font
- Depending on system, please follow the guides on how to get it installed
- Should you have any questions, feel free to raise a ticket with it@gen3marketing.com
======================================================================
Detailed Instructions by system
Windows
Add a font
-
Download the font files. These often come compressed in .zip folders. In one .zip folder, you might find several variations on the same font, such as “light” and “heavy.”
-
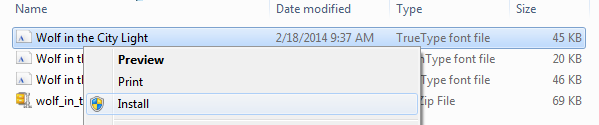
If the font files are zipped, unzip them by right-clicking the .zip folder and then clicking Extract. Now you'll see the available TrueType and OpenType font files:

-
Right-click the fonts you want, and click Install.
-
If you're prompted to allow the program to make changes to your computer, and if you trust the source of the font, click Yes.
Your new fonts will appear in the fonts list in Word.
Here are two other ways to install and manage fonts:
-
All fonts are stored in the C:\Windows\Fonts folder. Optionally, you can add fonts by simply dragging font files from the extracted files folder into this folder. Windows will then automatically install them. To see what a font looks like, open the Fonts folder, right-click the font file, then select Preview.
-
You can also see your installed fonts via the Control Panel. Depending on you version of Windows, you will go to either Control Panel > Fonts --or-- Control Panel > Appearance and Personalization > Fonts.
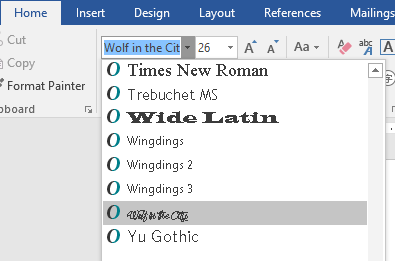
The next time you start Word, you'll see the fonts you added in the Font list.
Mac
Install fonts
-
On your Mac, download a font file from Apple or another source.
Note: macOS supports TrueType (.ttf), Variable TrueType (.ttf), TrueType Collection (.ttc), OpenType and OpenType-SVG (.otf), and OpenType Collection (.ttc) fonts. Legacy suitcase TrueType fonts and PostScript Type 1 LWFN fonts might work but aren’t recommended.
-
Do any of the following:
-
In the Font Book app
 , choose File > Add Fonts to Current User. In the window that appears, double-click the font file.
 -
Drag the font file to the Font Book app icon in the Dock, then click Install in the dialog that appears.
-
Drag the font file to the Font Book window.
-
Double-click the font file in the Finder, then click Install in the dialog that appears.
-
When you install a font, Font Book automatically validates or checks the font you’re installing for errors. Font Book also checks for duplicate fonts.
Comments
0 comments
Please sign in to leave a comment.